
While the traditional recipe does not contain heavy cream, I prefer using it instead of egg whites.
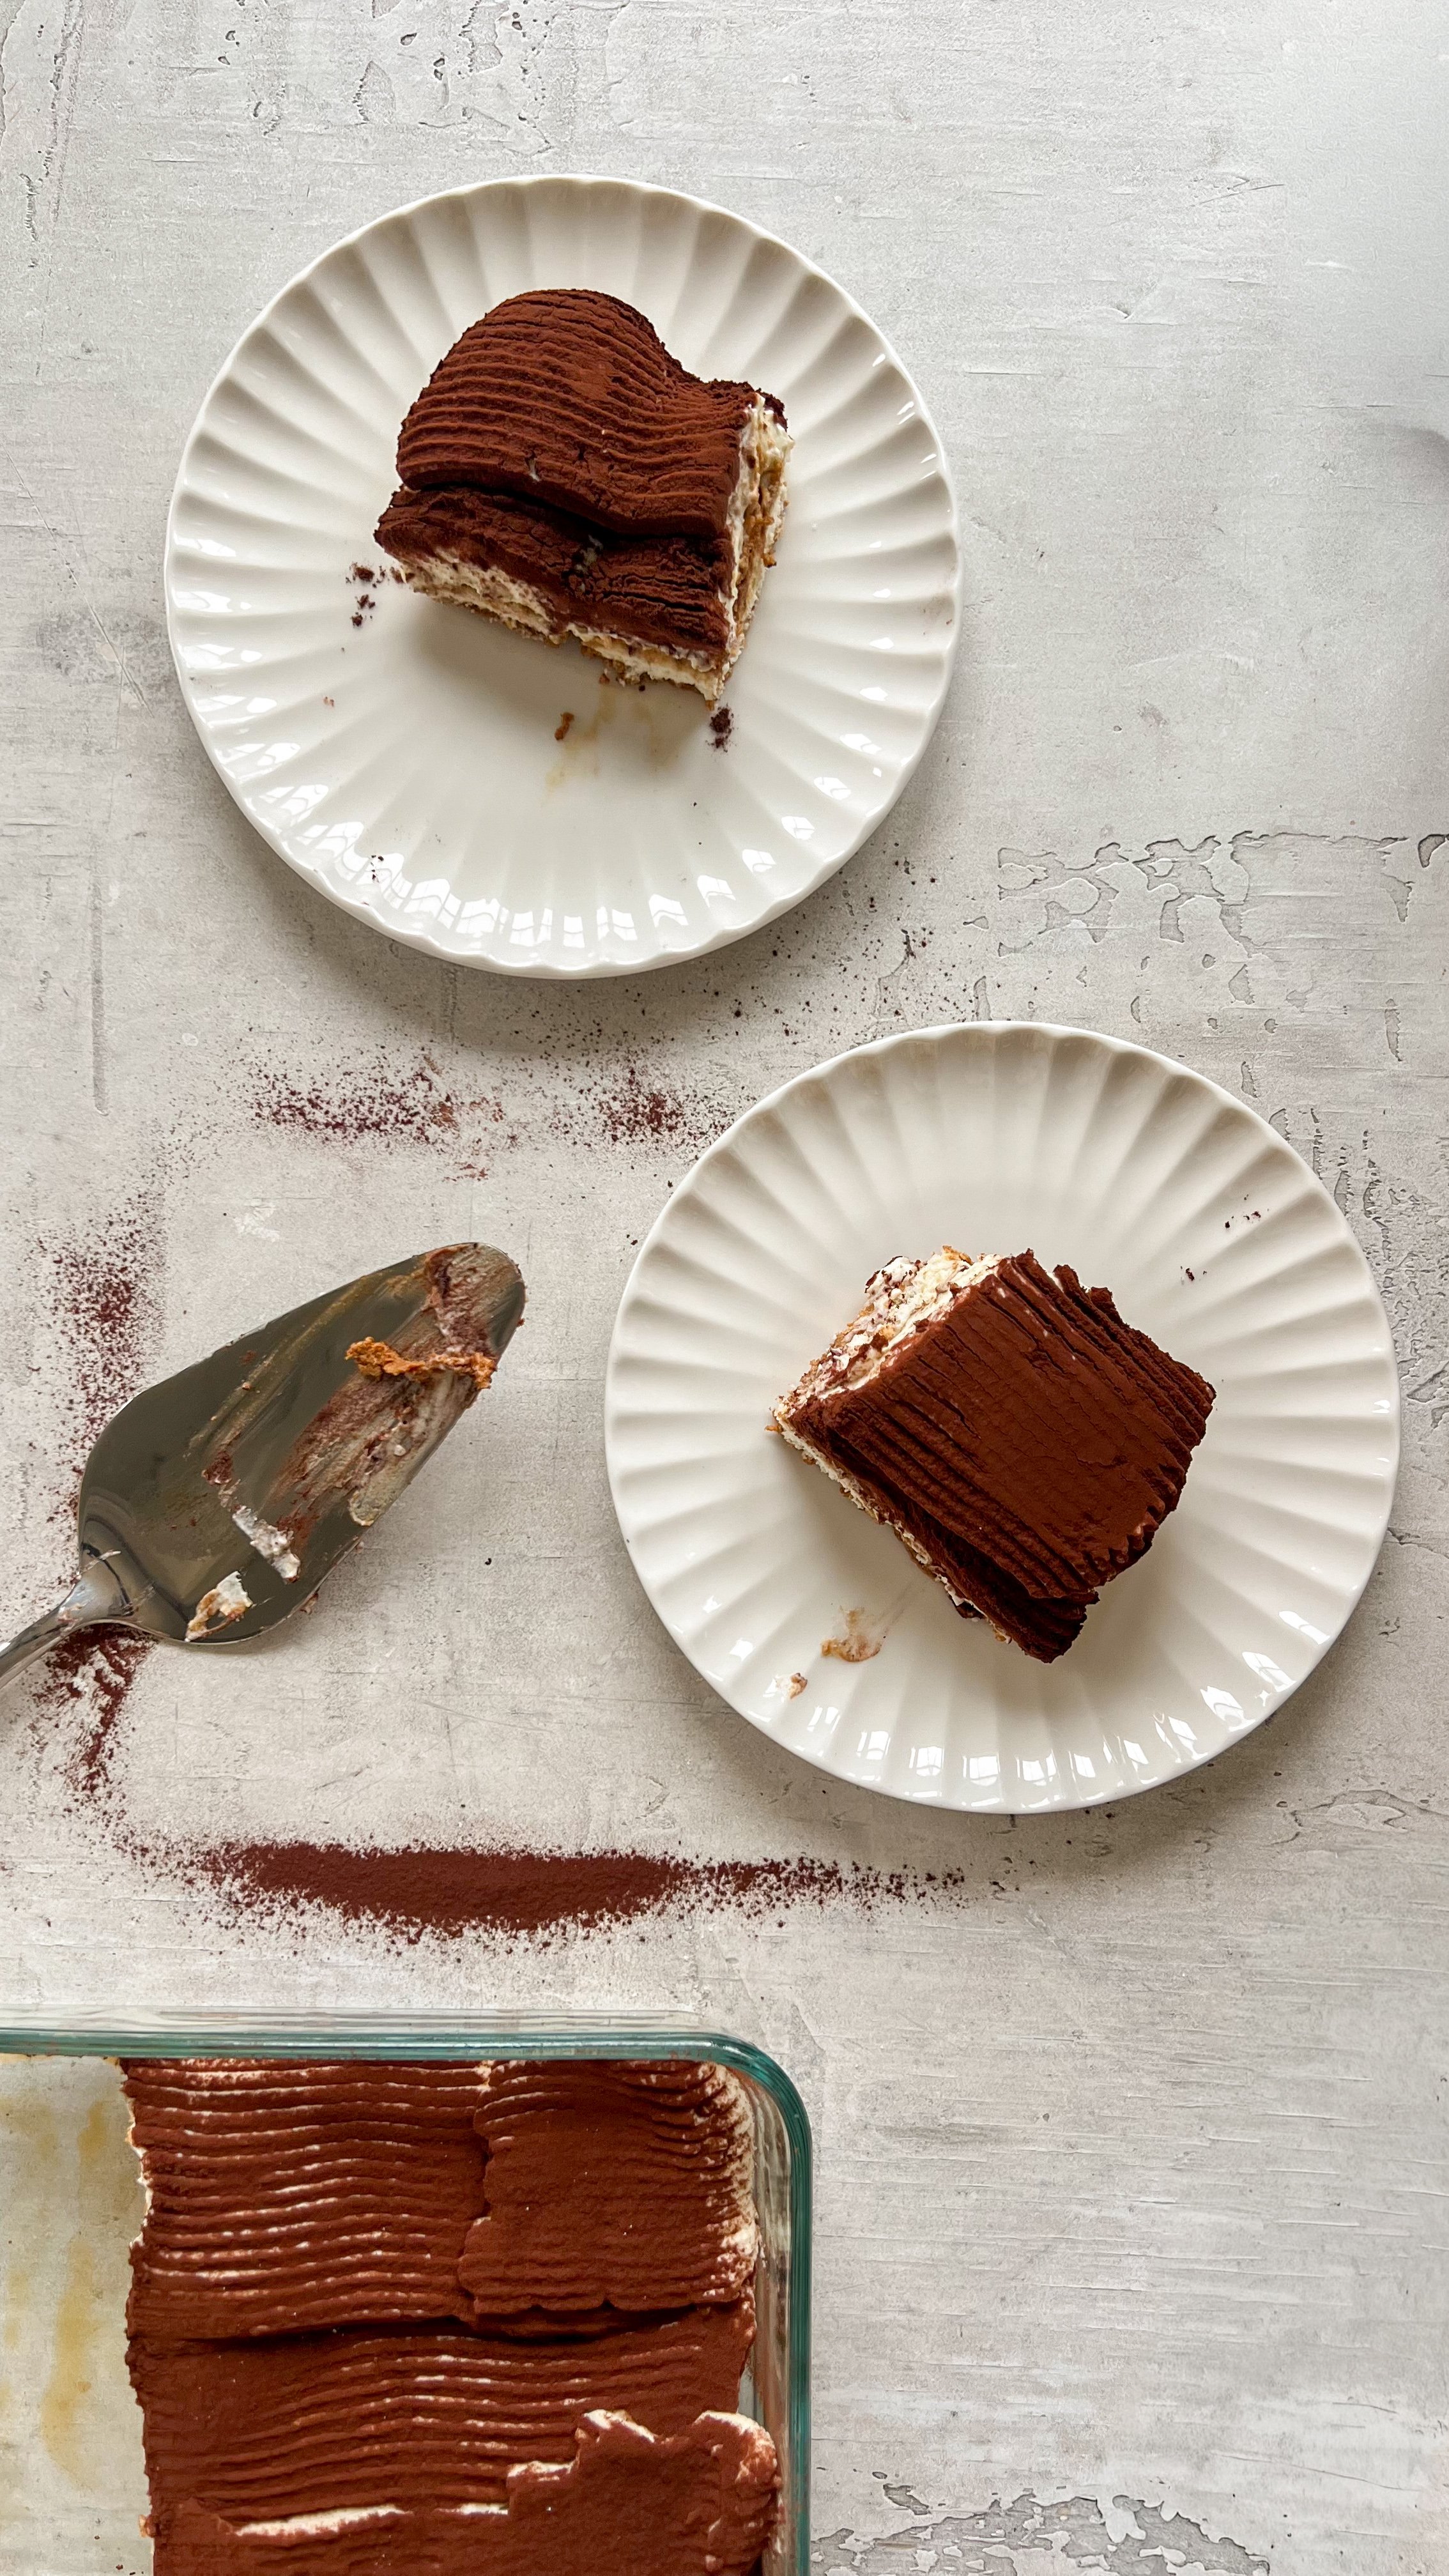
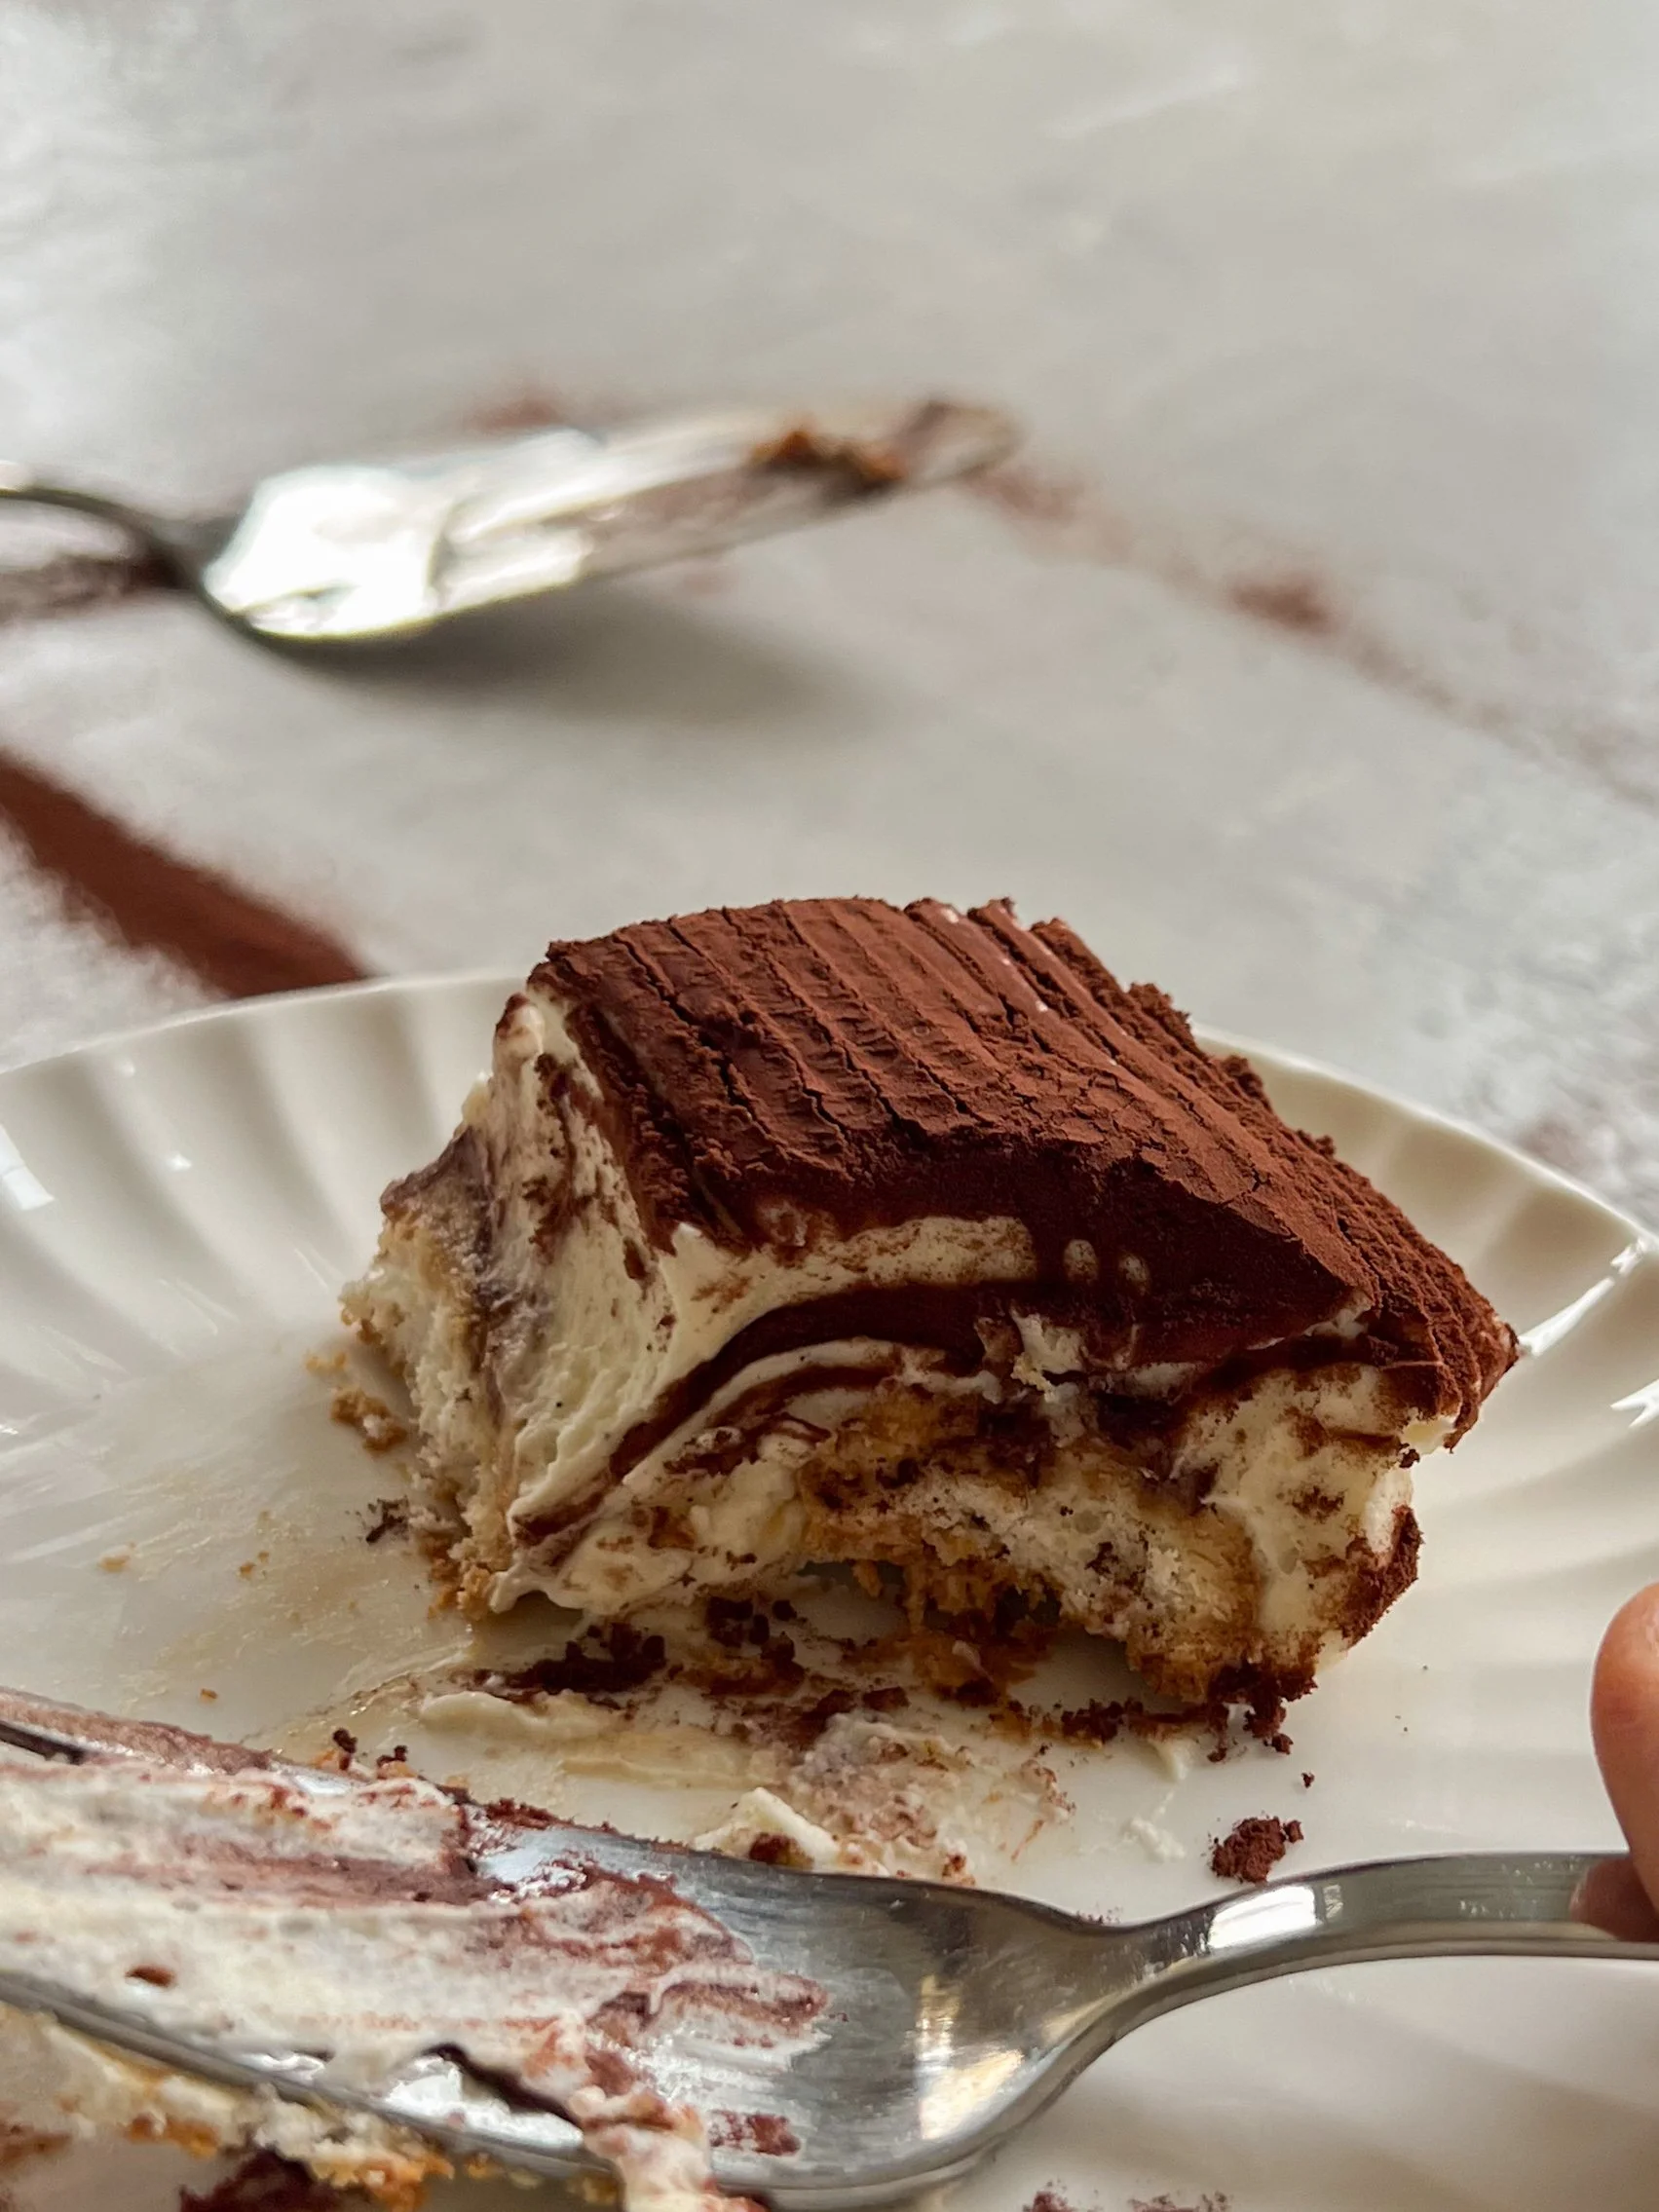
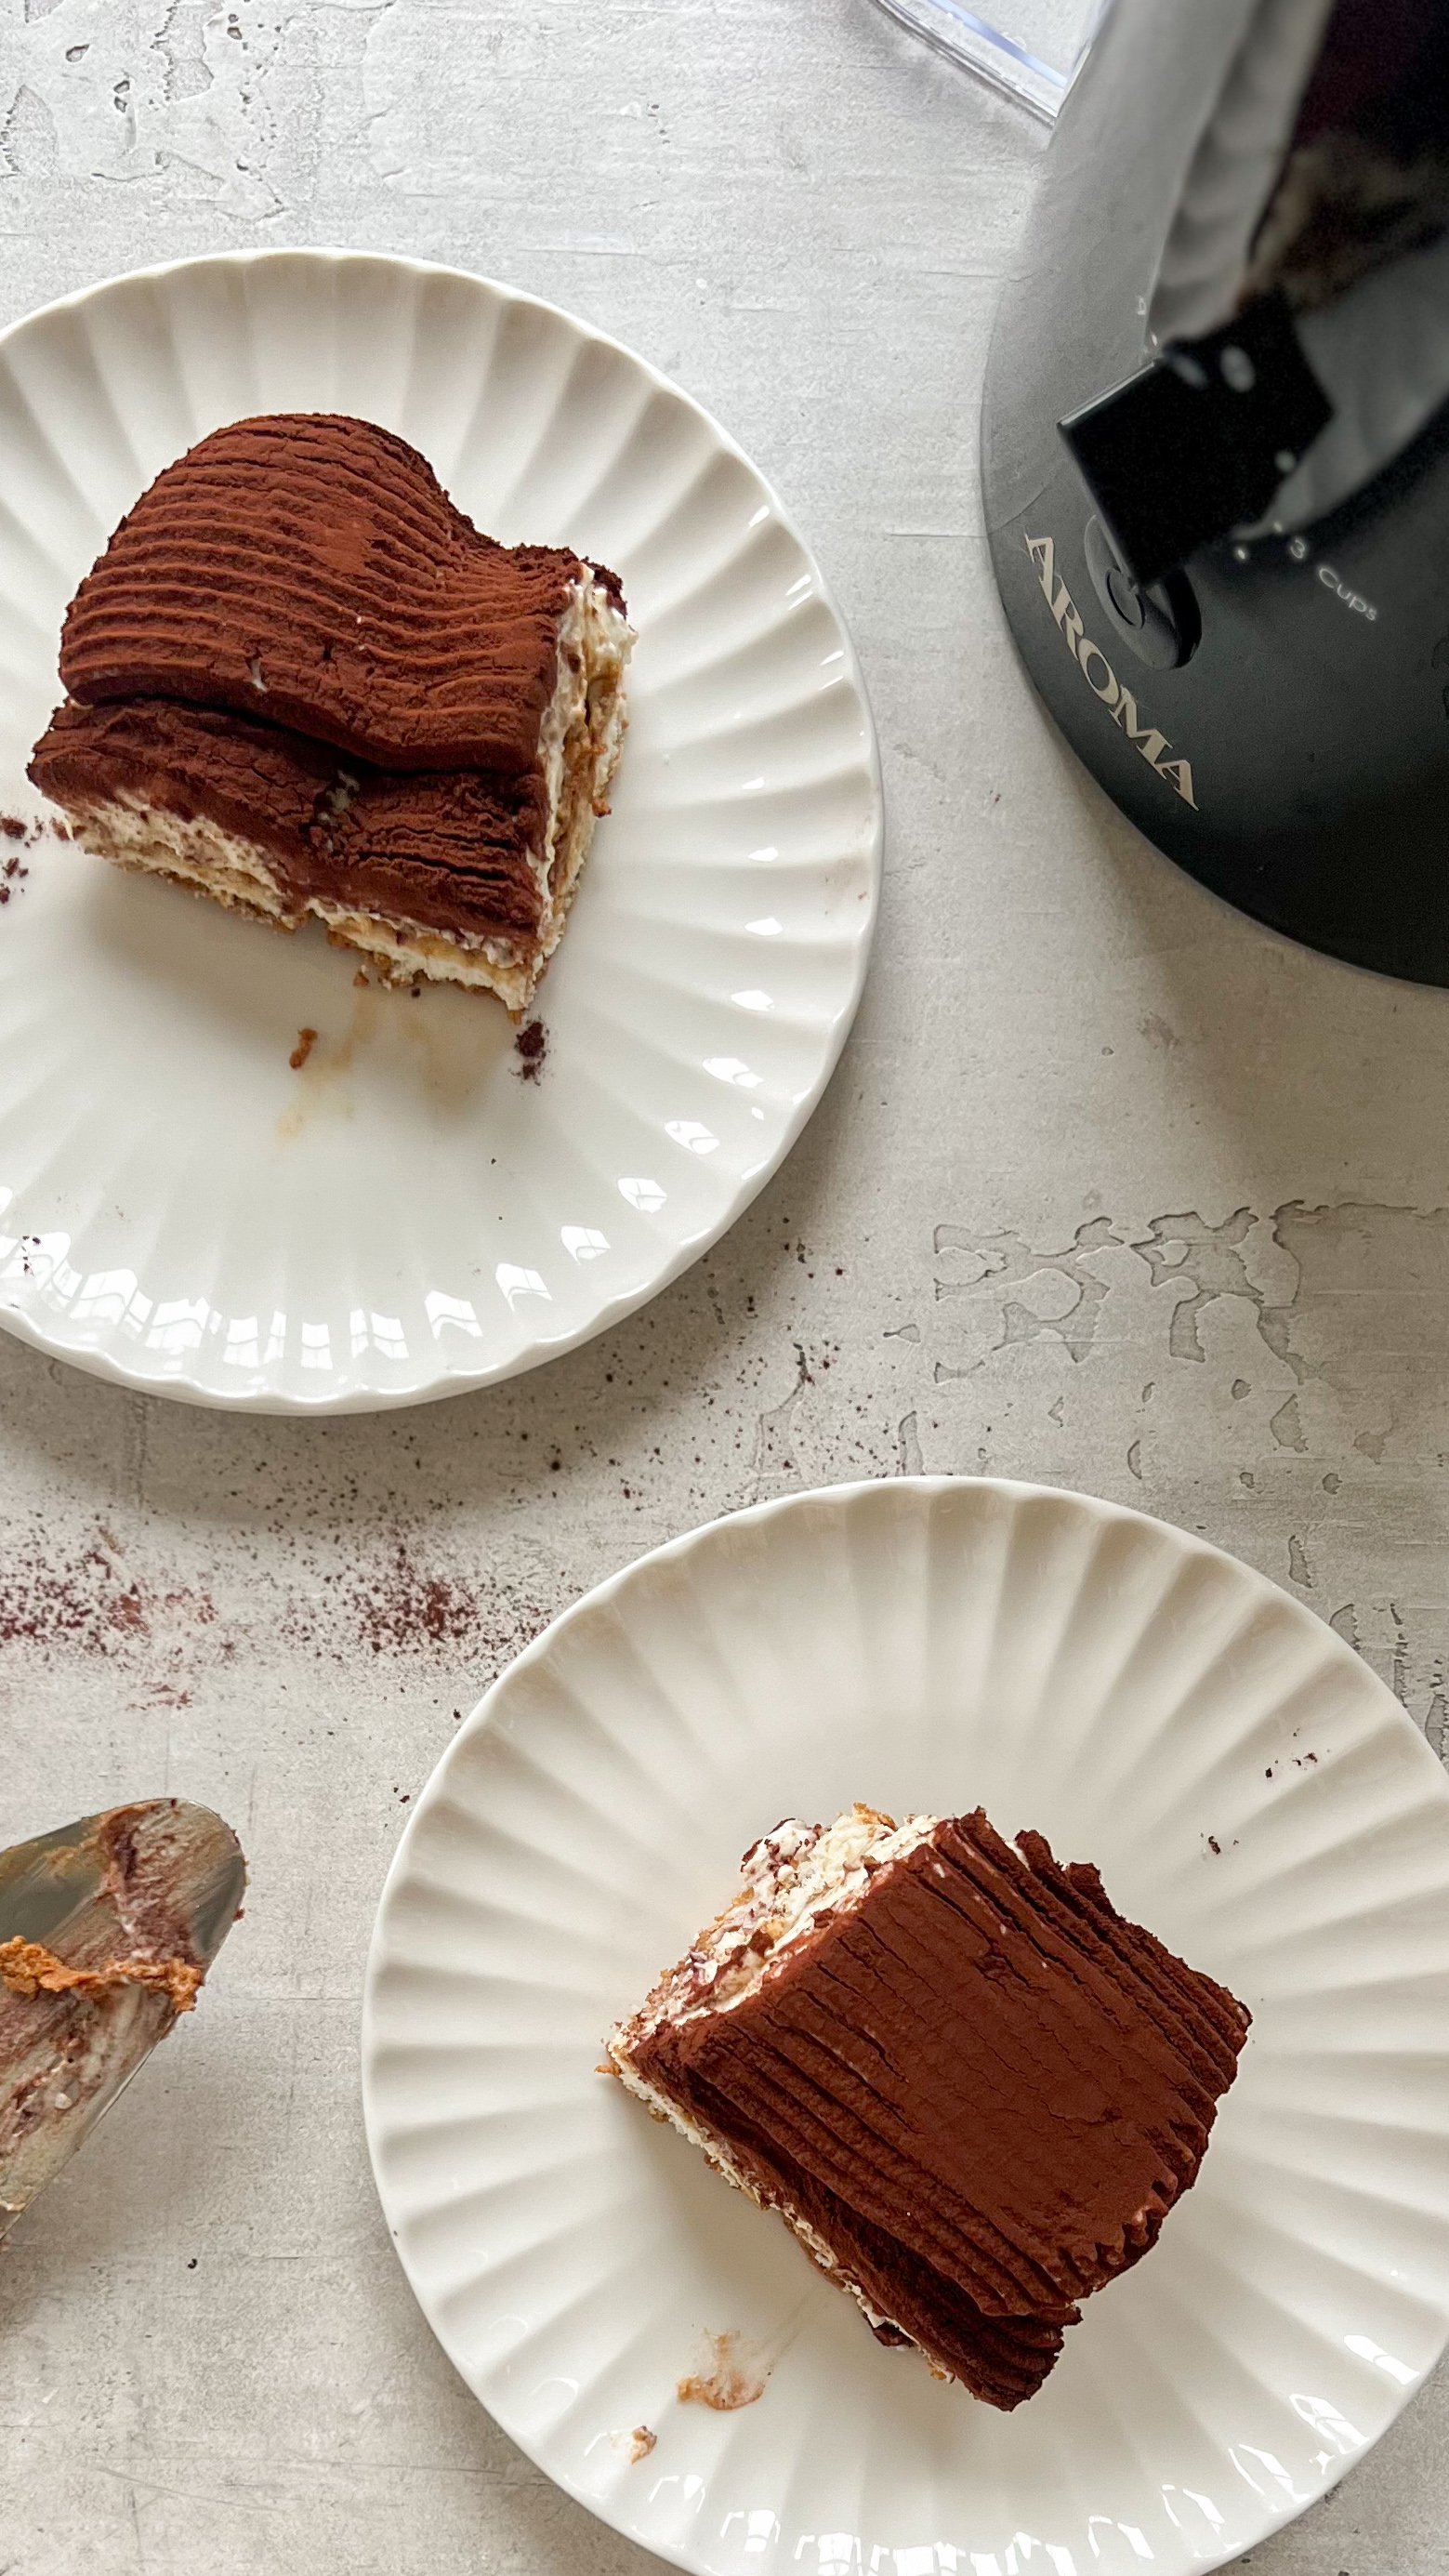
This small-batch tiramisu is designed for moments when you want something rich and elegant without committing to a full pan. It makes clever use of both parts of the egg: the yolk adds body and silkiness to the mascarpone cream, while the whipped egg white brings lightness and lift to the homemade ladyfingers, giving the dessert its classic airy texture even in a scaled-down version. With just one layer of espresso-soaked ladyfingers and a generous blanket of mascarpone, it’s simple, balanced, and ideal for two to three servings.
I was never a fan of full-batch recipes since I don’t think tiramisu sits very well in the fridge. However, if you’re making this for a crowd, simply double the recipe and use a larger pan to assemble. I also feel that tiramisu is one of many desserts where the usage of alcohol is terribly unnecessary — and luckily, these sweet, spongey ladyfingers are soaked in a bitter, full-bodied espresso shot to get a very a concentrated, unadulterated coffee flavor.
I used the Aroma Houseware’s Conical Burr Coffee Grinder, which has 9 fineness grind settings from coarse to fine and is customizable grinds for every type of coffee from espresso to traditional drip. On the finest setting, I was able to get medium-dark roast beans at the perfect 1:2 espresso ratio (18 grams of ground coffee beans in, 36 grams of espresso out!) This recipe is sponsored by Aroma Housewares.
A simple, scaled-down tiramisu with all the flavor and none of the fuss.
Tips and Tricks for Best Results
Whisk the yolk until pale
A lighter color means more air incorporated, leading to a smoother, creamier base.Let the homemade ladyfingers sit at room temperature overnight, uncovered, to become stale so they aren’t too soggy after being soaked.
Beat the egg white to firm peaks
This gives the mascarpone mixture structure without making it dense.Dip the ladyfingers quickly
One to two seconds is enough. Over-soaking makes the dessert soggy.Chill long enough
Four hours is the minimum, but overnight yields the best texture and flavor.Dust with cocoa just before serving
This keeps the topping from absorbing moisture and becoming dark or sludgy.Use strong, unsweetened espresso
Its bitterness balances the sweetness of the cream.

Ingredients (cream)
1 egg yolk
Tiny pinch of kosher salt
100 g mascarpone
40 g sugar (about 3 tablespoons)
60 g heavy cream (about ¼ cup)
Optional: vanilla bean seeds or 1/4 tsp vanilla extract
Instructions
1. If you prefer cooked yolks:
Set up a small bain-marie by bringing a pot of water to a simmer and lowering the heat. Place a heatproof bowl on top, ensuring the bottom does not touch the water. Whisk together the yolk, sugar, and salt until the mixture lightens from deep yellow to a pale, creamy color. This gentle heat partially cooks the yolk for added safety. Let it cool for about 10–15 minutes before moving on.
2. If using raw yolk:
Simply whisk the yolk, sugar, and salt in a bowl until pale and slightly thickened. No heating step needed if you’re comfortable with raw egg.
3. Incorporate the mascarpone:
Add the mascarpone to the yolk mixture—start by using a whisk to break it up, then gently fold until smooth.
4. Whip the cream:
In a separate bowl, beat the heavy cream until it reaches medium-soft peaks.
5. Combine:
Fold the whipped cream into the mascarpone mixture carefully to keep the texture light and airy.
Ingredients (for the ladyfingers)
1 large egg white
Small pinch of salt
50 g sugar (¼ cup)
½ teaspoon vinegar
½ teaspoon vanilla extract
1/3 cup all-purpose flour (40g)
2 tsp cornstarch
1 tbsp butter, melted and cooled
Method
Put the egg white into a mixing bowl and add the salt. Using a stand mixer with a whisk attachment or a handheld whisk, beat on high until the egg white forms stiff peaks, about 4–5 minutes.
With the mixer still running, gradually add the sugar. Continue whisking until the mixture is glossy and holds firm peaks. Mix in the vinegar and vanilla.
Sift the flour and cornstarch over the meringue. Gently fold them in with a spatula until the dry ingredients disappear.
Take a spoonful of the batter and stir it into the melted butter, then fold that back into the main mixture to keep the texture light.
Preheat the oven to 170°C / 325°F. Line a baking sheet with parchment paper.
Transfer the batter to a piping bag or a zip-top bag with a corner snipped off. Pipe out fingers roughly 10 cm (4 inches) long, spacing them out so they do not touch.
Dust the piped batter lightly with powdered sugar. Bake for about 12–15 minutes, until set but still pale.
Remove from the oven, dust again with powdered sugar, and let them cool completely on the tray. Store in an airtight container for up to a week.
For assembly:
cocoa powder
1-2 shots of espresso (or 1/2 cup of coffee)
Set out your serving dish or individual cups. Spread a thin layer of the mascarpone cream on the bottom. Dip each ladyfinger briefly in the espresso mixture, then arrange them in a single even layer. Spoon the remaining mascarpone mixture on top and smooth the surface. Finish with a generous dusting of cocoa powder. Refrigerate for at least 4–6 hours, ideally overnight, so the flavors settle and the texture firms up.